No products in the cart.
SAME DAY DISPATCH
FREE UK DELIVERY ON ORDERS OVER £59.99*DETAILS
30 DAY RETURN
Enjoy this lovely craft, please, is what we want. Making jewelry will be enjoyable once you learn how to avoid mistakes. If you use these suggestions, you won’t have to worry about restringing damaged jewelry. Let’s craft a masterpiece today!
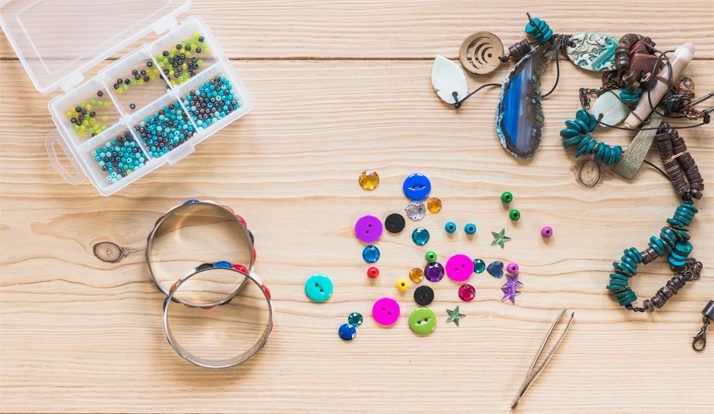
It is unreasonable to anticipate that generic beading wire will be of the same quality as soft flex beading wire. At the grocery store, generic may work just fine. Generic, however, is not always the same as a reputable brand name. If you string jewelry with a common wire or beading string, you will need to do so much more frequently. Soft Flex Beading Wire is made of premium stainless steel. It was constructed from the ground up to be a beading wire; it wasn’t intended to be a fishing line. Beading wire was one of the materials we set out to create because we wanted it to be both strong and smooth. Our wire is designed to be used similarly to thread, but it is much stronger. In contrast to most wires on the market, Soft Flex is flexible enough to knot without working-hardening and breaking.
Maybe you’re purchasing inexpensive wire to make a little savings. However, cheap wire will break on you just like tools do. As you restring your jewelry, you’ll have to spend more money on new wire. Your jewelry will be reliable and robust if you spend a little more on a reputable brand name.
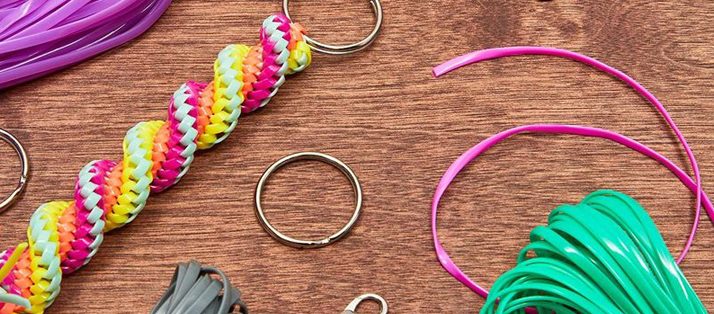
Soft Flex wire comes in a variety of colors and is very flexible. Generic wires simply cannot make that claim. It is meant to be visible after passing through a transparent bead. But even though it’s made of steel wire, it drapes like thread. You can make crafts like kumihimo, macramé, and crochet with our wire. Our wire was made to be durable. When possible, avoid using wires that are too stiff and prone to kinking. There should not be a drape that looks unattractive. Spend a little more cash knowing that your jewelry will look stunning.
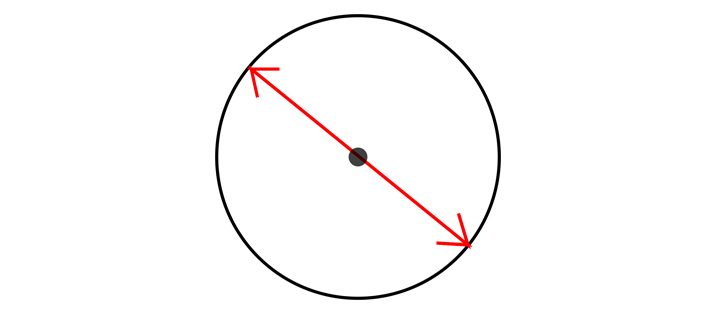
The diameters of our beading wire are designed to withstand the levels of abrasion that beads produce. If the channels in your beads are abrasive, you need the right diameter. Each diameter has a particular purpose. We advise using our Fine diameter for delicate beads like seed beads and pearls. We advise using our Medium for the majority of your work because it works with the majority of abrasive beads. Turquoise and other massive, abrasive stones are ideal for our heavy diameter. Additionally, bracelets and other bulky jewelry are ideal for wearing in crowded spaces. If you don’t know how to use diameters properly, you’ll probably string your jewelry on the incorrect size. You can also find more information about diameters on our blog and Tips section of our site.
Price is one factor that influences how many people choose the wrong diameter. Because our Fine diameter is less expensive, some people choose it. They are unaware that abrasive beads are not intended for this diameter. On the Fine diameter, they might even put big stones on a bracelet. When the bracelet is on the wrist, it rocks back and forth. The rough material inside the beads rubs the wire like sandpaper. The jewelry then breaks quickly, and they don’t understand why the wire let them down. Our larger diameters might be a little more expensive, but they are well worth the extra money. The wire is strong enough to do the job, and you won’t waste wire by restringing.
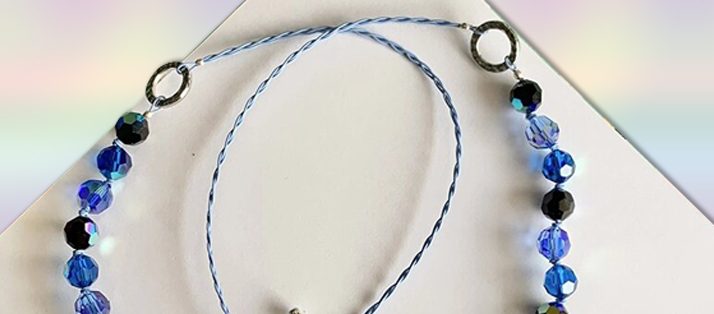
Soft Flex Beading Wire – Medium Diameter. We dare you to try something new if you only string single-strand designs and hide the wire under the beads. Our spools are filled to the brim with beautiful colors. Get your wires out!
If you use our wire with a translucent bead, it will really POP! Don’t hide your wire – show your colors!
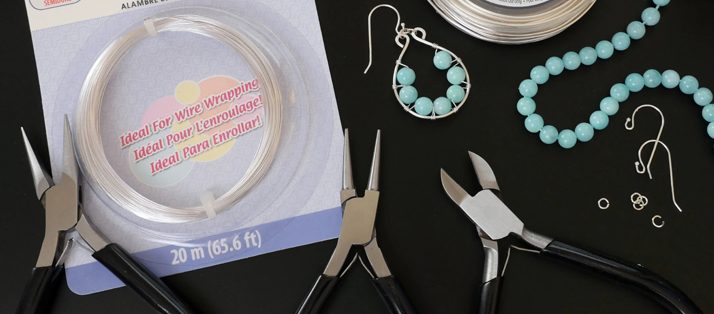
The proper equipment is required for the task. Jewelry that breaks will result from using the incorrect tools. If you use the wrong tools to create a jewelry design, the result will be an unsightly finish that is not as well optimized. When beading wire cutters should be used, avoid cutting your wire with scissors. You don’t want to use a regular pair of pliers to flatten your crimps. Don’t even think of cutting Memory Wire with anything other than Memory Wire cutters. A quality set of beading tools will ensure that your projects always turn out beautifully.
Purchase a quality tool set. The tools you purchase will wear out or break if they are poorly made. You might experience some sticker shock when purchasing high-end tools. However, the money you spend on high-quality tools will ultimately be money you save. The more you cut with cheap cutters, the faster the cutting edge will wear and dull. You won’t need to replace your cutters as frequently if you invest a little bit more money up front. If you purchase cheap crimps, you’ll have to restring your jewelry more frequently. Stop the headaches by investing in top-notch jewelry-making supplies.
The crimpling pliers are a tool that is frequently forgotten. The most secure and aesthetically pleasing way to crimp beads and tubes is with crimping pliers. A crimp can only be crushed by regular pliers, such as needle nose pliers. A crushed crimp may have sharp edges that can rip into the wire or irritate the skin. The ends cannot be closed with a crushed crimp. Finishing a necklace properly is a good idea if you have taken the time to bead it. You can get a rounded bead with no irregular surfaces by using crimping pliers. Using crimping pliers will guarantee that your beads have a polished and uniform finish.
Crimping pliers have a crimping hole and a rounding hole. Using this tool means that rather than have a flat smashed crimp, you are going to have a crimp that cradles and secures the beading wire. This equipment has excellent consistency and durability. Your jewelry will always be sturdy and have a polished appearance. Avoid breaking your crimps. Purchase crimping pliers and gain crimping skills. Your jewelry will look better than any jewelry that has ever had a crimp that has been smashed.
If you do not know how to finish your crimps confidently, you are not going to learn how to become a better jewelry designer. We want you to master this technique. It is easier than you think. Buy some inexpensive wire or use remnant wire (wire that is too short to use for many projects but long enough that you don’t want to throw it away). You can practice without wasting money on quality wire. Use sub par crimps, keep your good crimps for your jewelry. To become confident and at ease, practice until you are ready. It really is simple. You just have to get the hang of it. We are rooting for you!
Step 1: Instructions for Crimping Pliers
Attach a clasp and a crimp tube to the wire. String the wire back through the crimp tube. Straighten the wires so they are parallel and fit inside the crimp tube.
Step 2: Instructions for Crimping Pliers
Create a divot in the crimp tube by using the crimper to gently compress it.
Step 3: Instructions for Crimping Pliers
Compress the crimp tube a little bit using the “rounder.” Once a round shape is formed, turn and repeat. Cut off the excess wire at the base of the crimp.
Pay attention to the amount of pressure you apply when compressing your crimps. The crimp doesn’t need to be slammed down on. Simply squeeze the hand as hard as you would if you were shaking your grandmother’s. If you slam down as firmly as you can, you risk brittleness and hardening the crimp. Your crimps will be strong and secure if you gently compress them, turn them, and then gently compress them again.
You may have heard that after crimping a piece of jewelry, it is best to go back through your final bead. This has been suggested as an additional method to increase security at the crimp. This might have been the case a few decades ago, when stringing options were less durable and expertly made than they are now. Stainless steel of marine grade is used to make the Soft Flex Beading Wire. It was made to last and withstand even the most abrasive beads’ wear and tear. More substantial than most on the market, Soft Flex crimps are seamless. It is no longer necessary to double back through the previous bead. Your designs might even become less secure if you double back. Let’s examine the rationale for cutting your wire flush with the crimp.
The first thing is that leaving a length of wire after the crimp just seems odd. Why would you want that last bead to be surrounded by a shaggy length of wire if your design is clean? The presentation is amateurish. Even though the wire can be hidden, it still seems out of place. Much nicer-looking would be to cut that wire at the crimp.
Getting the right materials for your jewelry is a better idea than going back through the beads. Nothing will stop your jewelry from breaking if you only purchase cheap, poorly made crimps. The crimp will continue to be secure as long as the right tools are employed. So what would be the harm in going backwards? Use a smaller gauge of wire to make it fit if you need to pass the wire through the beads once more. This will put the entire work in jeopardy. You would need to use a finer wire rather than buying the right wire for the beads’ weight and level of abrasion. Even if going backwards somehow strengthens the crimps, you still have a necklace full of beads that are pulling on a weaker wire. Imagine building a bridge while concentrating solely on anchoring the spans rather than ensuring the integrity of the entire structure. That would be terrible. Use the largest wire that will fit through your beads one time when stringing jewelry for a much more secure finished product.
Some designers enjoy covering every square inch of their wire with beads. To ensure that not even the tiniest bit of wire is visible, they attempt to crimp up against the final bead. You should never handle your beading wire in this manner. Give yourself some space between the final bead and your crimp. Leave the wire breathing. Your design will be taut if you crimp up close. Tension will be present throughout the drape. There will be an improper lay of your jewelry. Any abrasive surfaces in the bead channels will eventually wear deeply into the wire because it cannot relax. Much more quickly than later, your jewelry will break. This holds true for all stringing materials, including wire, beading thread, and beading cord. Your beads should have just enough space to spread their legs and dance.
There doesn’t have to be much space. Simply make sure there is enough give so that your design is not tense. Even the spaces we left in some of our designs are hidden. The beads will conceal the wire once they are clasped and worn around the neck or wrist. Don’t worry if you don’t like showing the wire; making room won’t do that. But believe us when we say that our wire is meant to be seen. You won’t ever have to worry about the wire showing if you incorporate the color into the design.
Clasps are frequently overlooked as a necklace’s finishing touch. According to the traditional teachings, clasps serve only to complete the piece and should be worn behind the neck to hide them. This is a problem because clasps are currently very designer-friendly and fashionable. There are currently clasps available with accents like embedded stones. They don’t need to be kept secret anymore. To draw attention to the clasp, some designers even place it on the side of a necklace, not far from the focal bead. It is an excellent method for thinking creatively.
Keep clasps and findings in mind when creating your designs. Align high-quality findings with high-quality crimps and beading wire. Your necklace should contain significant elements all over it.
Don’t forget to read more articles. Really, if you are hungry to learn more, there is no better place to pick up a new jewelry making technique. Want to learn:
What do I need to start making my own jewelry?
How to make necklace with irregular chip stone beads
Join our Facebook page – Stay up to date. From our fruitful information that ill help you to make best handmade jewelry, you can stay in touch with us.
Featured Products
Rushbazaar is an online e-commerce platform dedicated to the latest in fashion and lifestyle goods in the US.
Learn More >