No products in the cart.
SAME DAY DISPATCH
FREE UK DELIVERY ON ORDERS OVER £59.99*DETAILS
30 DAY RETURN
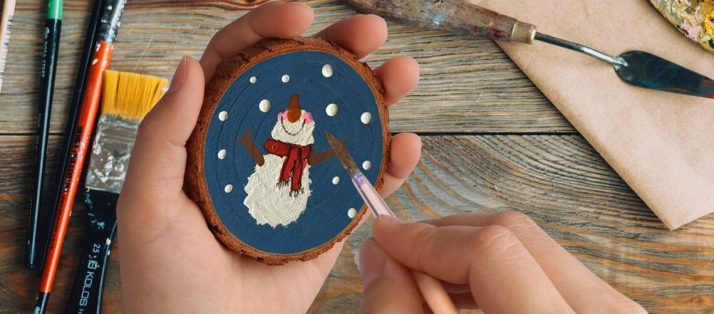
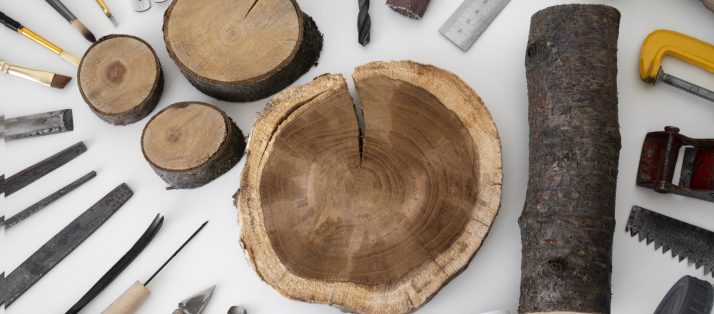
Before starting your project, make sure you have all the materials you need. Wood slices can be found at craft stores or online. They can be purchased pre-sanded or you can sand them yourself to remove any rough spots or sawdust. Vinyl decals can be purchased in a variety of colors and designs, or you can create your own using a cutting machine. Transfer tape is used to transfer the vinyl decal to the wood slice, and a clear finish can be applied to protect the decal and enhance the natural grain of the wood.
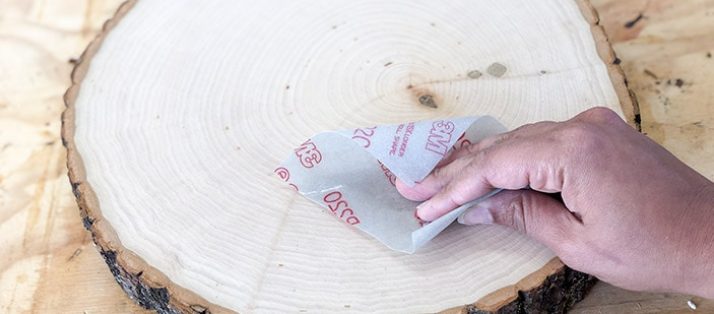
If your wood slice is not pre-sanded, use sandpaper to smooth the edges and remove any rough spots. Clean off any sawdust from sanding to ensure a smooth surface for the vinyl decal.

Using your cutting machine software, design the vinyl decal that you want to apply to the wood slice. The design can be anything you want, from a holiday message to a family name or monogram. Cut the design using the cutting machine and transfer it to the transfer tape.
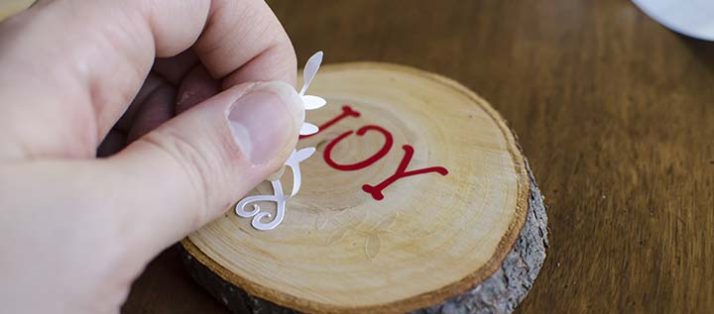
Peel the vinyl decal from the backing paper and place it on the transfer tape. Align the decal on the wood slice and apply it, smoothing out any air bubbles as you go. Make sure to apply gentle pressure to the decal to ensure it adheres well to the wood slice.
If desired, apply a clear finish to the wood slice to protect the decal and enhance the natural grain of the wood. This step is optional, but it can help protect the decal from scratches and fading over time.
Drill a small hole in the top of the wood slice and attach a ribbon or string to create a loop for hanging the ornament. Make sure the ribbon or string is long enough to hang from your tree or mantle, but not so long that it gets tangled or in the way.
In conclusion, making DIY Wood Slice Ornaments, personalized with vinyl decals, is a fun and easy project that can be done by anyone. These ornaments add a personal touch to your holiday décor and make great gifts for friends and family. Gather your materials, prepare the wood slice, design your decal, apply the decal, seal the decal, add a hanging mechanism, and enjoy your custom-made ornament!
Sponsored
Featured Products
Rushbazaar is an online e-commerce platform dedicated to the latest in fashion and lifestyle goods in the US.
Learn More >